
Custom Hardwood Border Inlays: Where They Make Sense (And Where They Don’t)
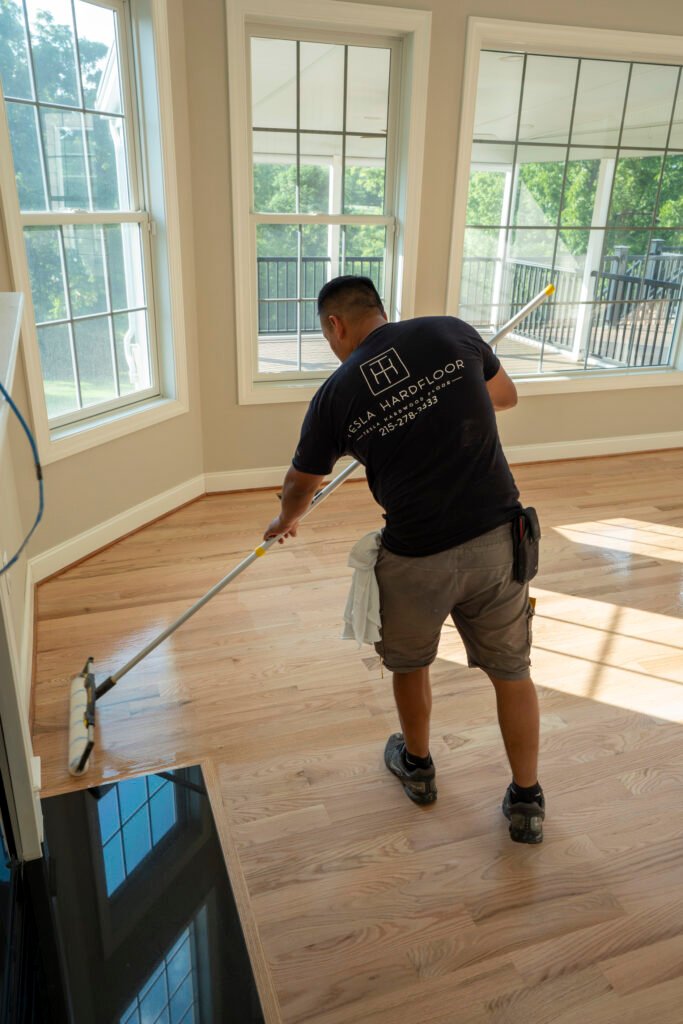
Elevate your floors with custom hardwood border inlays in Lower Merion. Licensed and insured, Tesla Hardfloor designs and installs unique wood borders.
Stair Refinishing: The Complete Process from Start to Finish
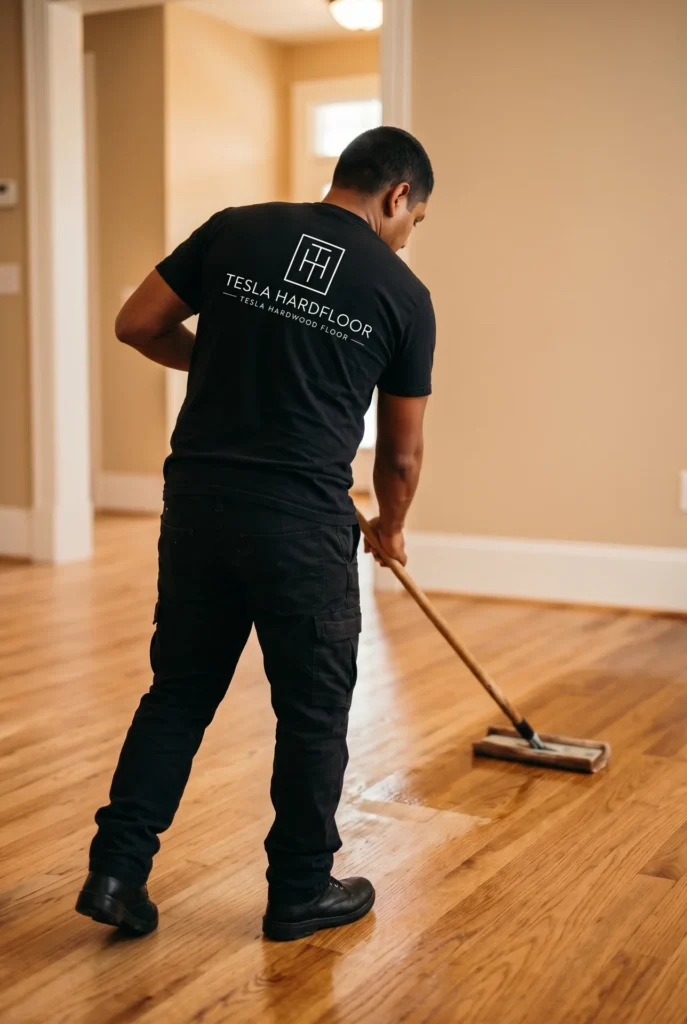
Transform your stairs with our complete stair refinishing process in Radnor. Licensed and insured, we deliver stunning results. Request a Quote today!
Why Your Hardwood Floor Looks Dull (And How to Bring the Shine Back)
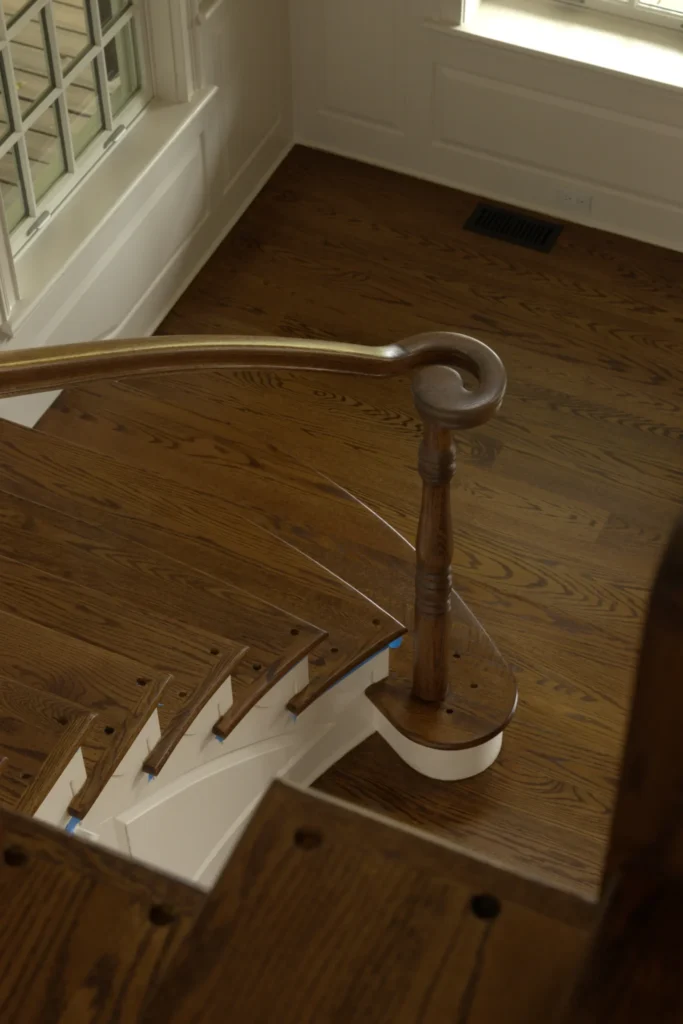
Revitalize your dull hardwood floors in West Chester! We bring back the shine with expert care. Licensed and insured. Request a Quote today!
Best Hardwood Species for Kitchens (And Which to Avoid)
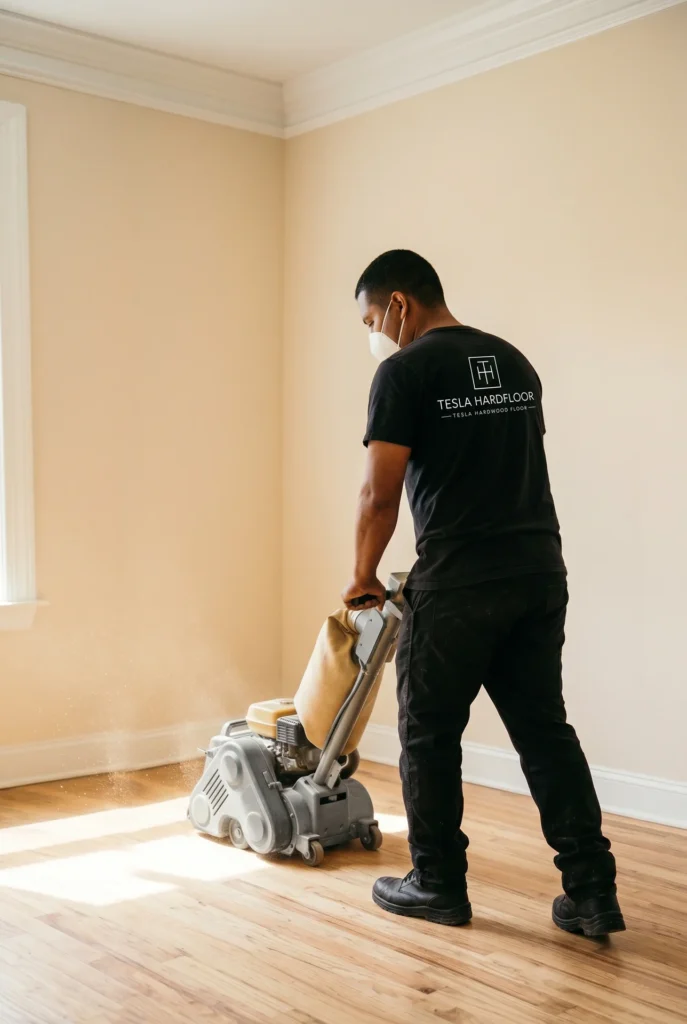
Discover the best hardwood for kitchens & which to avoid. Get expert advice for your Buckingham home. Licensed & insured. Request a Quote.
Restoring Antique Hardwood Floors in PA Historic Homes: What’s Possible
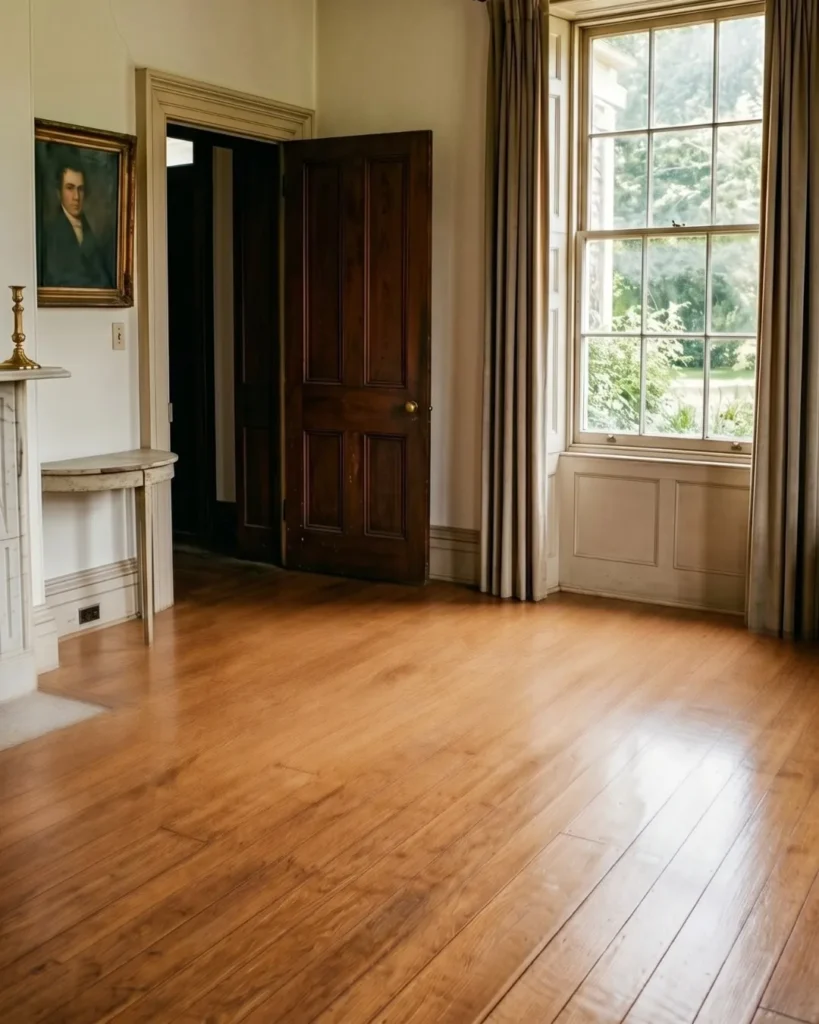
Transform your historic home with expert antique hardwood floor restoration in Solebury, PA. We’re insured and bring back original beauty. Request a Quote!
Hardwood Floor Stain Colors for Red Oak & White Oak
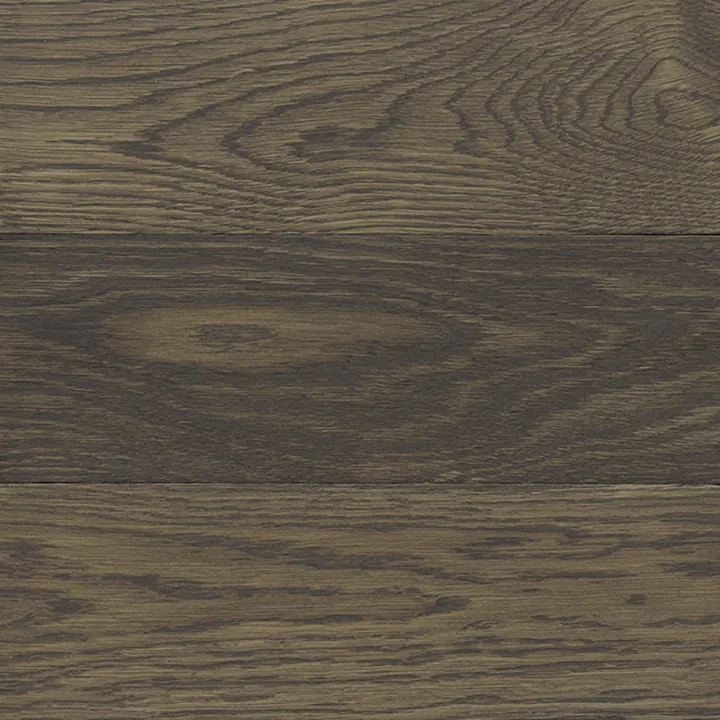
Browse our complete range of hardwood floor stain colors, shown on both red oak and white oak. See how each stain looks before your West Chester or Greater Philadelphia refinishing project.
How to Spot Water Damage on Hardwood Before It Spreads
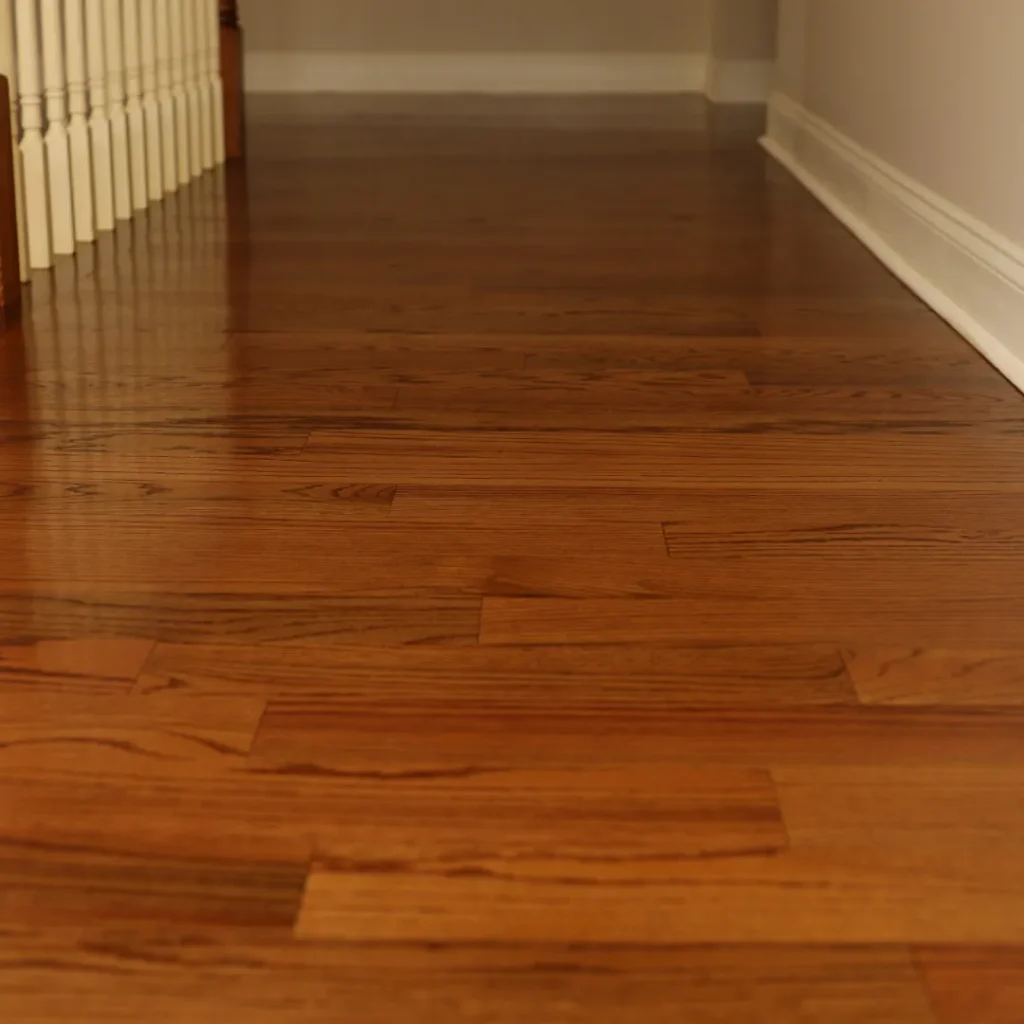
Blog How to Spot Water Damage on Hardwood Before It Spreads Serving homeowners in Lower Merion and surrounding areas Water damage on hardwood floors can be a homeowner’s worst nightmare, often appearing subtly before escalating into a major issue. Early detection is crucial to minimize repair costs and preserve the integrity of your beautiful floors. Knowing the tell-tale signs and acting quickly can save you from extensive hardwood floor refinishing or even full replacement. This guide will walk you through the various stages of water damage on hardwood, from initial discoloration to severe warping, and provide actionable steps to take. We’ll also cover when it’s time to call in a professional for assessment and repair. Quick Answer: Early water damage on hardwood shows up as black or gray spots, cupping (edges higher than center), or crowning (center higher than edges). If caught within 48 hours, drying with fans and dehumidifiers can save the floor. After 5+ days, water reaches the subfloor and causes warping that requires full board replacement. Request a Quote Visual Signs of Water Damage on Hardwood Floors by Stage Recognizing the signs of water damage on hardwood floors early is key to effective mitigation. The appearance of damage evolves with the amount of moisture and the duration of exposure. Here’s what to look for at different stages: Stage 1: 1-2 Days – Discoloration and Minor Swelling Dark Spots: One of the first signs of water damage on hardwood floor is discoloration. Look for localized dark spots, often black or gray, which indicate moisture absorption. These spots might appear around leaky appliances, under potted plants, or near exterior doors. Slight Swelling: You might notice the wood grain becoming slightly raised or a subtle swelling of individual boards. This is the wood absorbing moisture and beginning to expand. Dullness: The finish in affected areas may lose its sheen and appear dull compared to surrounding areas. At this initial stage, the damage is often superficial and can sometimes be reversed if addressed immediately. The National Wood Flooring Association (NWFA) emphasizes that rapid response within the first 24-48 hours is critical for minimizing permanent damage. Stage 2: 3-5 Days – Cupping and More Pronounced Staining Cupping: This is a classic sign of water damage where the edges of the individual boards are higher than the center. It occurs when the bottom of the wood board absorbs more moisture than the top, causing it to expand unevenly. Wider Staining: The dark spots will likely spread and become more prominent, indicating deeper moisture penetration. Soft Spots: In severe cases, the wood may start to feel slightly soft or spongy when walked on, especially if the subfloor is also affected. Cupping is a clear indicator that significant moisture has been present for a few days. While still potentially salvageable, especially if the moisture source is removed, it often requires professional drying and potentially sanding and refinishing to correct the uneven surface. Stage 3: 7+ Days – Crowning, Buckling, and Mold Growth Crowning: This is the reverse of cupping, where the center of the board is higher than the edges. Crowning usually occurs after a cupped floor starts to dry out, but the top of the board dries faster than the bottom, or if the subfloor remains wet, pushing the center upwards. Buckling: Boards may lift entirely from the subfloor, creating large gaps or humps. This is a severe form of damage, often irreversible. Mold and Mildew: If moisture persists for over a week, mold and mildew can begin to grow, often appearing as fuzzy green, black, or white patches. Mold not only causes further damage to the wood but also poses health risks. Rot: Prolonged exposure to water can lead to wood rot, weakening the structural integrity of the floor. Once your hardwood floor reaches this stage, the damage is typically irreversible without significant repairs. This Old House notes that after about five days, water damage often extends to the subfloor, making full board replacement a necessity. Addressing severe uneven floors requires expert assessment. Early detection of water damage can mean the difference between minor repairs and a complete floor overhaul. The 48-Hour Rule: What to Do Immediately When You Spot Water Damage The first 48 hours after a water incident are often referred to as the “golden window” for minimizing damage to your hardwood floors. Rapid action can significantly improve the chances of saving your floor and reducing repair costs. Here’s a step-by-step guide on what to do: 1. Stop the Source of Water Immediately identify and stop the water source, whether it’s a leaking pipe, an overflowing sink, or a damaged roof. This is the most critical first step. 2. Remove Standing Water Use towels, mops, or a wet/dry vacuum to remove all standing water from the floor surface as quickly as possible. Every minute counts. 3. Increase Airflow and Reduce Humidity Open Windows and Doors: If the outdoor humidity is low, opening windows and doors can help air circulation. Turn on Fans: Place multiple fans, including box fans and floor dryers, to direct airflow across the affected area. This helps evaporate moisture from the surface of the wood. Use Dehumidifiers: Dehumidifiers are crucial for removing moisture from the air, which in turn helps draw moisture out of the hardwood. Aim for a humidity level between 35-55% to prevent further damage and help the wood dry out gently. Air Conditioning: Running your air conditioning can also help reduce indoor humidity. 4. Move Furniture and Items Relocate any furniture, rugs, or other items from the wet area to prevent further damage to both the items and the floor. This also allows for better airflow. 5. Monitor Moisture Levels (Optional but Recommended) If you have a moisture meter (available at most hardware stores), you can use it to track the moisture content in your hardwood floors. This helps determine if your drying efforts are effective. The NWFA provides guidelines on acceptable moisture content for various wood species. Acting swiftly within this 48-hour window
Refinishing Hardwood Floors Without Sanding: When It Works (And When It Won’t)
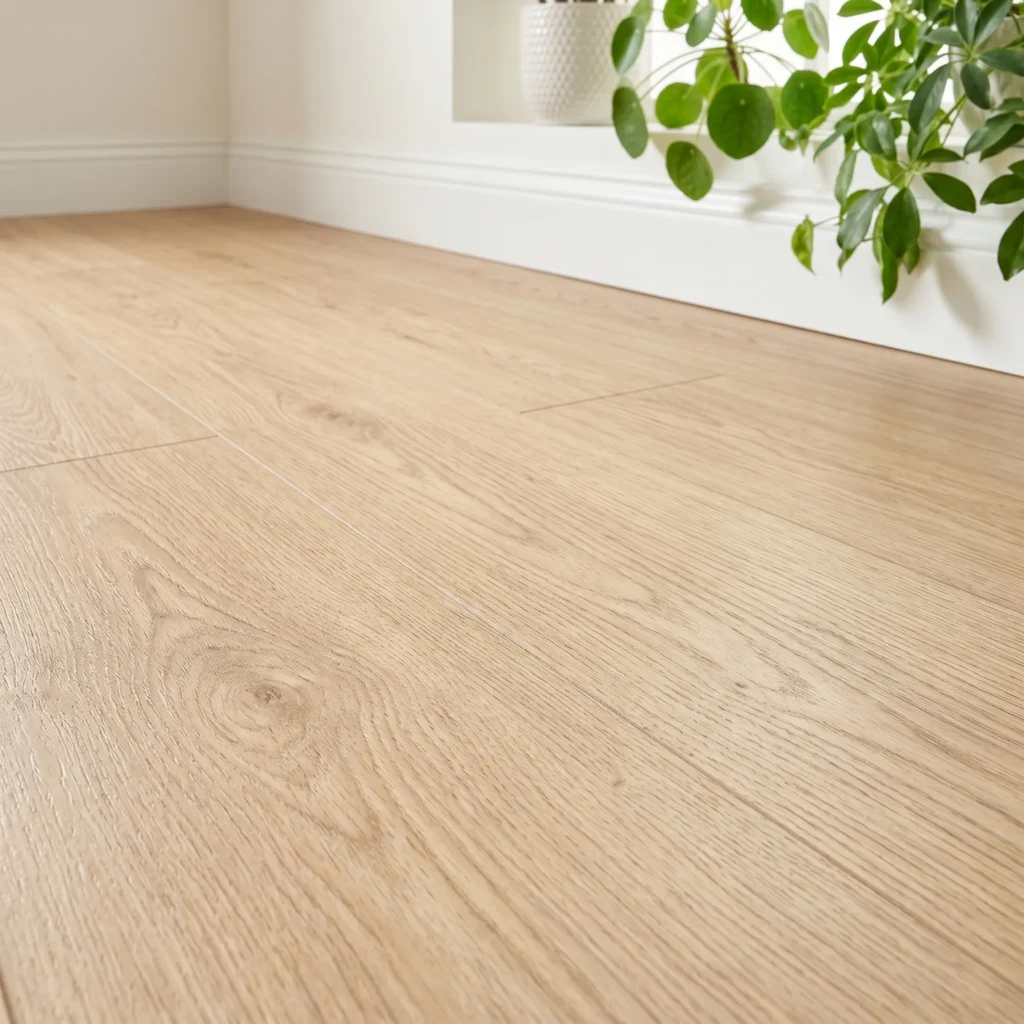
Blog Refinishing Hardwood Floors Without Sanding: When It Works (And When It Won’t) Serving homeowners in West Chester and surrounding areas The idea of renewing your hardwood floors without the mess and disruption of full sanding sounds appealing. But does it actually work? The truth is, “sandless refinishing” — also known as screen-and-recoat or buff-and-coat — is a viable option for specific situations, but it’s not a magic bullet for all hardwood floor issues. Understanding the limitations of sandless refinishing is crucial to avoid disappointment and ensure your investment truly benefits your floors. This guide will walk you through what sandless refinishing entails, when it’s effective, and when a full professional refinishing is your only real solution. For a comprehensive look at all your options, consider our professional hardwood floor refinishing services. Quick Answer: Sandless refinishing (also called screen-and-recoat or buff-and-coat) only works on floors with intact polyurethane and surface-level wear — no deep scratches, no pet stains, no water damage. It buys 3–5 years before a full sand-and-refinish is needed. If your floors have any gouges, gray spots, or color change requests, full sanding is required. Request a Quote What Sandless Hardwood Floor Refinishing Actually Is When we talk about refinishing hardwood without sanding, we’re typically referring to a process called “screen-and-recoat” or “buff-and-coat.” This method involves lightly abrading the existing finish, not the wood itself, and then applying a new coat of polyurethane. It’s a maintenance step, not a restorative one. Mechanical Abrasion: A buffer machine with an abrasive screen (like a fine-grit sandpaper screen) is used to lightly scuff the top layer of the existing finish. This creates a microscopic texture that allows the new coat to adhere properly. Cleaning: After screening, the floor is thoroughly cleaned to remove all dust and debris. New Finish Application: One or two fresh coats of polyurethane are applied over the existing, lightly abraded finish. This revitalizes the sheen and adds a new layer of protection. This process is much quicker and less intrusive than traditional sanding. It typically generates minimal dust, which is a major draw for many homeowners. However, it’s essential to understand that this is a surface treatment designed to refresh, not repair, your floors. The National Wood Flooring Association (NWFA) provides detailed guidelines on when a recoat is appropriate versus a full refinish. While traditional refinishing involves sanding down to bare wood, sandless methods only address the top layer of the existing finish. The 3 Key Conditions for Successful Sandless Refinishing For refinishing hardwood without sanding to be effective, your floors must meet specific criteria. If any of these conditions aren’t met, you risk wasting money on a treatment that won’t deliver the desired results. 1. Intact Polyurethane Finish The most critical factor is that your existing polyurethane finish must be largely intact. Sandless refinishing relies on having a sound, adhesive layer to bond with. If the finish has worn through to the bare wood in significant areas, a screen-and-recoat won’t work. The new finish won’t adhere properly to exposed wood, leading to peeling and an uneven appearance. 2. Surface-Level Wear Only This method is strictly for cosmetic surface wear. Think light scuffs, minor dullness, and superficial scratches that haven’t penetrated the finish. If you have deep gouges, significant abrasions, or areas where the wood fibers are visible, sandless refinishing won’t hide or repair them. For issues like these, you’ll need a full sanding to remove the damage. You can learn more about how deep scratches disappear after sanding hardwood floors. 3. No Desire for Color Change or Stain Removal Because sandless refinishing only works on the surface of the existing finish, it cannot change the color of your floors. If you want a different stain color, or if your floors have significant pet stains, water damage, or dark spots that have discolored the wood, a full sanding is the only way to address these issues. The new topcoat will only seal in the existing color and any underlying blemishes. What Sandless Refinishing Can’t Do It’s important to set realistic expectations for what refinishing hardwood without sanding can and cannot achieve. Many homeowners are drawn to the idea of a quick fix, but often overlook the limitations. Cannot Change Floor Color or Stain As mentioned, a screen-and-recoat won’t alter your floor’s color. If you’re tired of your current stain or want to update to a trendy new shade, you’ll need a full professional sanding and refinishing. This process removes the old finish and stain, allowing for a fresh application. Cannot Fix Deep Gouges or Scratches Deep damage goes beyond the surface. Scratches that catch your fingernail, dents, and gouges penetrate the protective finish and often the wood itself. Sandless methods will simply apply a new coat over these imperfections, making them potentially more noticeable. Cannot Remove Pet Stains or Water Damage Pet urine and water stains can penetrate deep into the wood, causing dark discoloration and even structural damage. These types of stains require sanding down to clean wood, and sometimes even board replacement, which is far beyond the scope of a screen-and-recoat. Applying a new finish over these areas will trap the odor and visual damage underneath. Deep scratches, pet stains, and severe discoloration often require a full sanding to achieve a truly renewed look. Realistic Lifespan: What to Expect from a Screen-and-Recoat A key question for homeowners considering refinishing hardwood without sanding is how long the results will last. While a full refinish can last 10-20 years or more with proper care, a screen-and-recoat offers a much shorter lifespan. 3–5 Years of Extended Protection: Generally, a well-executed screen-and-recoat can extend the life of your floor’s finish by another 3 to 5 years. This assumes light to moderate traffic and regular maintenance. A Bridge, Not a Replacement: Think of it as a temporary refresh between full refinishes. It’s a way to keep your floors looking good and protected without committing to the full process. Bona, a leading floor care manufacturer, often recommends recoating every 3-5
Comparing Engineered Wood vs. Solid Hardwood for Your Moorestown, NJ Home
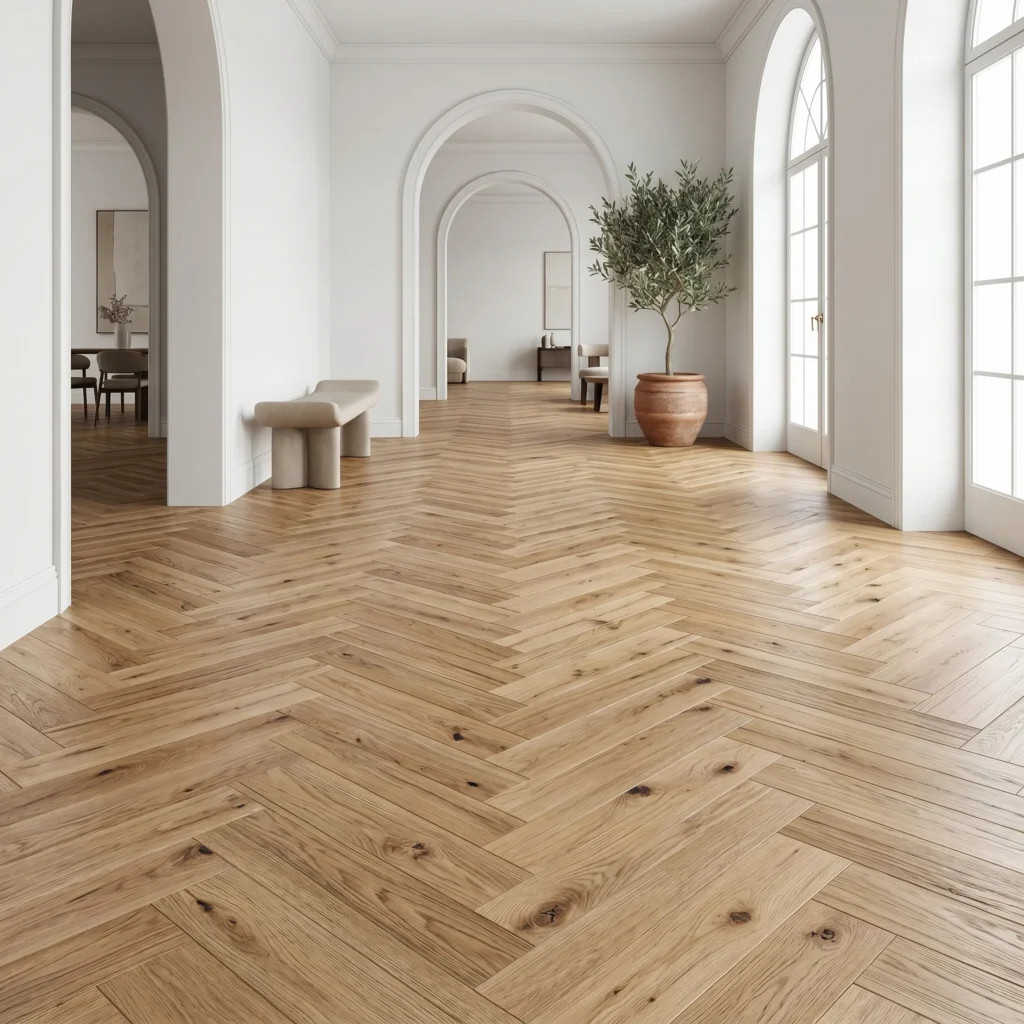
Blog Comparing Engineered Wood vs. Solid Hardwood for Your Moorestown, NJ Home Serving homeowners in Moorestown, NJ and surrounding areas Choosing between engineered wood and solid hardwood flooring for your Moorestown, NJ home involves understanding key differences in construction, durability, and how they perform in our local climate. While both offer the timeless beauty of natural wood, their underlying structures dictate where each option shines. For homeowners considering new flooring, the decision often comes down to balancing aesthetics, budget, and practical considerations like moisture resistance and maintenance. This guide will help you understand the pros and cons of engineered wood vs. solid hardwood, ensuring you make an informed choice for your home. Quick Answer: For Moorestown homes, engineered wood offers greater stability in fluctuating humidity and versatility for below-grade installations, while solid hardwood provides unmatched longevity and the ability to be refinished many times. The best choice depends on your specific installation area, budget, and long-term goals. Request a Quote Understanding the Core Differences: Engineered vs. Solid Hardwood At first glance, engineered wood and solid hardwood can look remarkably similar, both offering the natural beauty of wood grain. However, their construction is fundamentally different, leading to distinct advantages and disadvantages for each. Solid Hardwood: The Traditional Choice Solid hardwood flooring is exactly what it sounds like: a single, solid piece of wood, typically 3/4 inch thick. It’s renowned for its natural beauty, durability, and the ability to be sanded and refinished multiple times over its lifespan. Common species include oak, maple, and cherry. Composition: 100% solid wood from top to bottom. Installation: Usually nailed or stapled to a wood subfloor. Not recommended for below-grade (basement) installations due to moisture sensitivity. Refinishing: Can be sanded and refinished 5-7 times, extending its life for many decades, even over 100 years with proper care. Engineered Wood: Modern Versatility Engineered wood flooring is constructed with multiple layers. The top layer is a slice of real hardwood (the “veneer”), while the core layers are made of high-density fiberboard (HDF), plywood, or other composite materials. This layered construction provides enhanced stability. Composition: Real wood veneer on top, with a cross-ply or HDF core. Installation: Can be glued down, stapled, or floated over various subfloors, including concrete. Suitable for above-grade, on-grade, and some below-grade installations. Refinishing: Depends on the thickness of the top veneer. Thicker veneers can be refinished 1-3 times, while thinner ones might not be refinishable at all. Solid hardwood offers timeless appeal and exceptional longevity, often lasting over a century in homes. Performance in Moorestown, NJ’s Climate: Humidity & Stability Moorestown, NJ experiences seasonal humidity fluctuations, which can be a significant factor when choosing wood flooring. Wood is a hygroscopic material, meaning it absorbs and releases moisture, causing it to expand and contract. Solid Hardwood and Humidity Solid hardwood is more susceptible to moisture-related issues like cupping, crowning, and gapping if humidity levels aren’t consistently maintained. The National Wood Flooring Association (NWFA) recommends maintaining indoor relative humidity between 30% and 50% year-round for optimal performance. Without proper HVAC control, solid hardwood can react noticeably to Moorestown’s humid summers and dry winters. Engineered Wood and Humidity Engineered wood’s layered construction, with grain running in opposing directions, makes it far more stable and resistant to moisture-induced expansion and contraction. This makes it an excellent choice for areas prone to higher humidity or slight temperature variations, such as basements or concrete slabs in Moorestown homes. It can tolerate relative humidity levels between 35% and 65% more easily than solid wood. This enhanced stability is a major benefit for many homeowners. Local Insight: For basements or areas with known moisture concerns in Moorestown, engineered wood flooring is often the more practical and durable choice. Its construction provides greater dimensional stability against the challenges of local climate variations. *Pricing varies based on project scope, materials selected, and site conditions. Contact us for a personalized estimate. Durability, Lifespan, and Refinishing Potential The long-term value of your flooring investment heavily depends on its durability and how many times it can be renewed through refinishing. Solid Hardwood Longevity Solid hardwood is incredibly durable. With proper installation and care, it can last for 75 to 100 years or more. Its ability to be sanded and refinished multiple times means that scratches, dents, and wear can be completely removed, restoring the floor to like-new condition. Each sanding removes a small amount of wood, typically allowing for 5-7 refinishing cycles over its lifetime. This makes solid hardwood a generational investment. Engineered Wood Lifespan The lifespan of engineered wood largely depends on the thickness of its top veneer. High-quality engineered wood with a thick veneer (e.g., 4-6mm) can last 40-80 years and may be refinished 1-3 times. Engineered wood with thinner veneers (1-2mm) might not be refinishable at all, and its lifespan would be closer to 20-30 years, requiring replacement rather than restoration when worn. This is a critical factor for homeowners to consider. Refinishing solid hardwood floors can extend their life for decades, removing years of wear and tear. Cost Considerations for Your Moorestown Home When budgeting for new flooring, both material cost and installation cost need to be considered. Prices for engineered wood and solid hardwood can vary widely based on wood species, grade, finish, and brand. Material Costs Generally, the material cost for both engineered and solid hardwood can range from $3* to $15* per square foot, with exotic species or premium finishes pushing prices higher. Basic engineered wood might be slightly less expensive than basic solid hardwood, but high-end engineered products can easily match or exceed the cost of many solid hardwood options. Installation Costs Installation costs for both types of flooring typically range from $3* to $8* per square foot, depending on the complexity of the job, subfloor preparation, and local labor rates. Engineered wood can sometimes be quicker to install, especially if it’s a floating installation, which might slightly reduce labor costs. However, intricate glue-down installations for engineered wood can be just as labor-intensive as solid hardwood. *Pricing varies
Stair Installation & Refinishing: Boosting Your Glenside Home’s Value
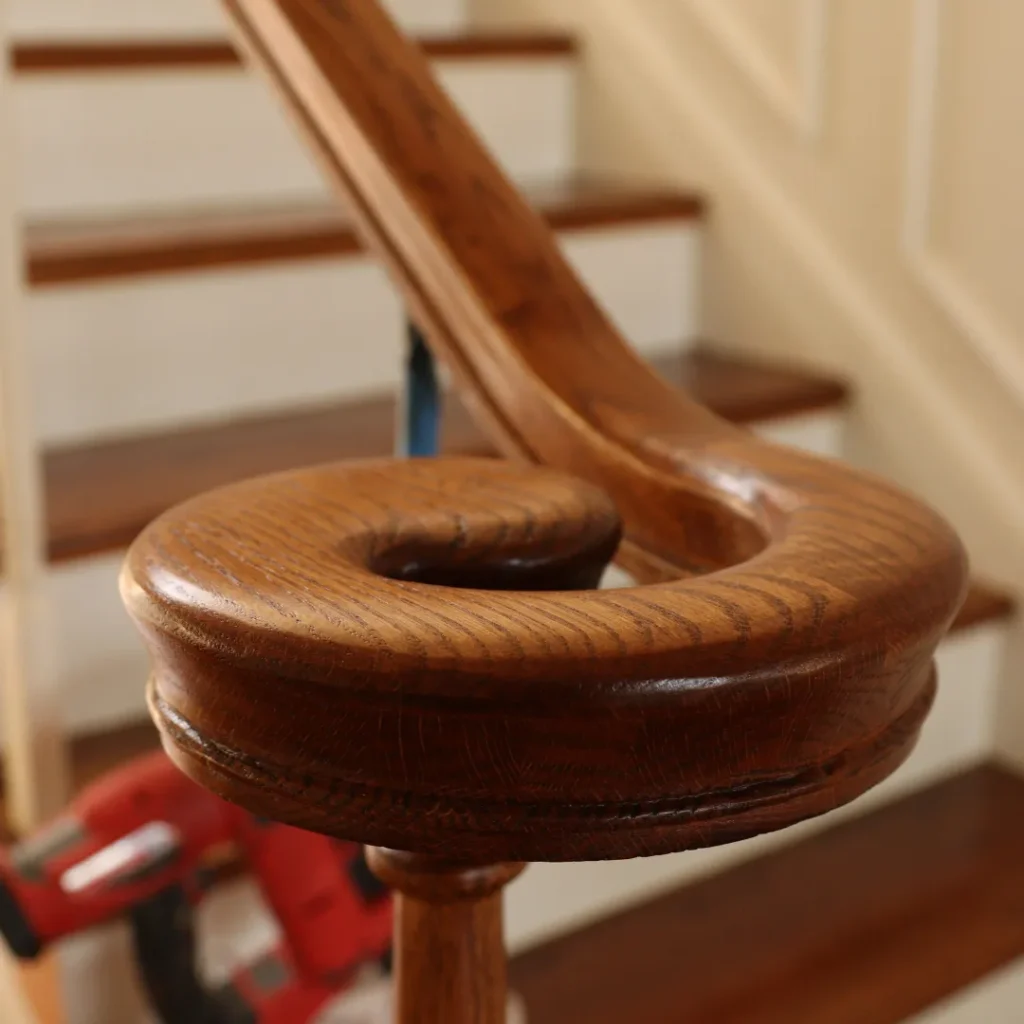
Blog Stair Installation & Refinishing: Boosting Your Glenside Home’s Value Serving homeowners in Glenside, PA and surrounding areas In Glenside, PA, your staircase isn’t just a functional element; it’s a central design feature that can significantly impact your home’s aesthetic and market value. Worn-out, carpeted, or outdated stairs can detract from an otherwise beautiful interior, while newly installed or expertly refinished stairs can transform a space. Whether you’re looking to replace an old, creaky set of stairs or breathe new life into existing ones, understanding the process of stair installation and refinishing is key. This guide will walk you through the benefits, considerations, and what to expect when investing in stair installation and refinishing in Glenside, PA. Ready to upgrade your Glenside staircase? Discover how professional stair installation or refinishing can enhance your home’s beauty and value. Request a Quote Why Invest in Stair Installation & Refinishing in Glenside, PA? Stairs are often high-traffic areas, enduring daily wear and tear. Over time, this can lead to scuffs, scratches, loose treads, or an overall dated appearance. Investing in professional stair installation or refinishing offers numerous advantages for your Glenside home. Enhanced Aesthetics and Curb Appeal A beautifully crafted or restored staircase immediately draws the eye, creating a strong first impression. New hardwood stairs can introduce a sense of elegance and continuity with your existing flooring, while refinishing can revive the natural beauty of the wood, making it look brand new. This visual upgrade contributes significantly to your home’s overall curb appeal and interior design harmony. Increased Home Value Hardwood floors, including stairs, are highly sought after by homebuyers. By upgrading your staircase, you’re not just improving your living space; you’re making a smart investment. Homes with well-maintained and attractive hardwood stairs often command higher resale values and spend less time on the market. It’s a tangible asset that adds lasting value. Improved Safety and Durability Old, worn, or poorly maintained stairs can pose safety hazards. Loose treads, splintered wood, or slippery surfaces can lead to falls. Professional installation ensures that all components are securely fastened and meet safety standards. Refinishing also addresses surface imperfections, creating a smoother, safer walking surface. High-quality finishes offer enhanced durability, protecting against future wear. Customization and Personalization Whether you opt for new stair installation or refinishing, you have the opportunity to customize your staircase to perfectly match your personal style and home decor. From selecting the type of wood and stain color to choosing baluster designs and newel posts, the possibilities are vast. This personalization ensures your staircase is a unique reflection of your taste. Modern stair installations, like these white oak stairs with iron balusters, significantly enhance a home’s interior design and value. Stair Installation in Glenside, PA: What to Consider Installing new stairs is a significant project that requires careful planning and execution. Here are some key factors to consider for your Glenside home. Material Selection The choice of material is crucial for both aesthetics and durability. Hardwood, such as oak (white or red), maple, or hickory, are popular choices for their beauty and longevity. Each wood type offers unique grain patterns and hardness levels. Consider how the new stairs will complement your existing hardwood flooring or other design elements. Staircase Design and Layout Beyond the material, the design of your staircase plays a huge role. Do you prefer a straight run, an L-shaped design, or a more elaborate curved staircase? Consider the space available, architectural style of your home, and functional needs. Balusters, railings, and newel posts also contribute significantly to the overall look. Professional Installation Stair installation is a complex task that requires precision and expertise. Proper measurements, structural integrity, and adherence to building codes are paramount for safety and longevity. Hiring experienced professionals ensures a flawless installation that will stand the test of time. A poorly installed staircase can be a safety hazard and a costly repair later on. *Pricing varies based on project scope, materials selected, and site conditions. Contact us for a personalized estimate. Stair Refinishing in Glenside, PA: Reviving Your Existing Stairs If your existing stairs are structurally sound but look tired and worn, refinishing is an excellent option to restore their former glory. This process can dramatically improve their appearance without the need for a full replacement. Assessment and Preparation The first step in stair refinishing is a thorough assessment of the existing wood. This includes identifying any damaged treads, risers, or railings that need repair or replacement. The surface is then meticulously cleaned, and any old finishes, paint, or carpet are removed. Proper preparation is essential for a smooth and lasting finish. Sanding and Staining Sanding is critical to remove scratches, dents, and old finishes, creating a smooth canvas for the new stain and finish. Professional-grade equipment ensures an even sand without damaging the wood. After sanding, you can choose from a wide range of hardwood floor stain colors to match your desired aesthetic. Whether you prefer a light, natural look or a rich, dark hue, staining can completely transform the appearance of your stairs. Finishing and Protection Once stained, multiple coats of a durable finish are applied to protect the wood and enhance its beauty. Options include polyurethane, water-based finishes, or oil-modified urethanes, each offering different levels of durability and sheen. A high-quality finish not only makes your stairs look great but also protects them from daily wear, spills, and UV damage, extending their lifespan. Consider exploring different hardwood floor finish types to find the best fit for your home. Refinishing can dramatically transform carpeted stairs into beautiful, natural wood, as shown in this before and after comparison. Choosing the Right Professionals for Your Glenside Project Whether you’re installing new stairs or refinishing existing ones, selecting the right flooring professionals is paramount. Look for a licensed and insured company with a proven track record of quality workmanship in Glenside, PA. Experience and Expertise Stair projects require specialized skills. An experienced team will understand the intricacies of different wood types, structural requirements, and finishing techniques.