Blog
How to Match New Hardwood with Your Existing Floors
Extending a room or renovating a space often means you need to match new hardwood with existing floors. Achieving a seamless transition can seem daunting, but with the right approach, it’s entirely possible to make new planks blend perfectly with older ones.
This guide will walk you through the essential steps, from identifying your current flooring to choosing between feathering in new planks or using a transition strip. We’ll explain why professionals recommend sanding the whole room and why trying to match prefinished planks is a common pitfall. For expert help with your hardwood flooring project in Doylestown, contact us today.
Achieving a Seamless Match: Your Step-by-Step Guide to Matching New Hardwood with Existing Floors
The key to a successful hardwood floor match lies in precision and understanding the nuances of wood. It’s not just about getting the color right; it’s about the entire composition of the floor.
Step 1: Identify Existing Species (White Oak, Red Oak, Maple, Hickory, etc.)
The first and most critical step is to determine the wood species of your existing hardwood floors. Different species have unique grain patterns, hardness levels, and how they absorb stain. Common species include:
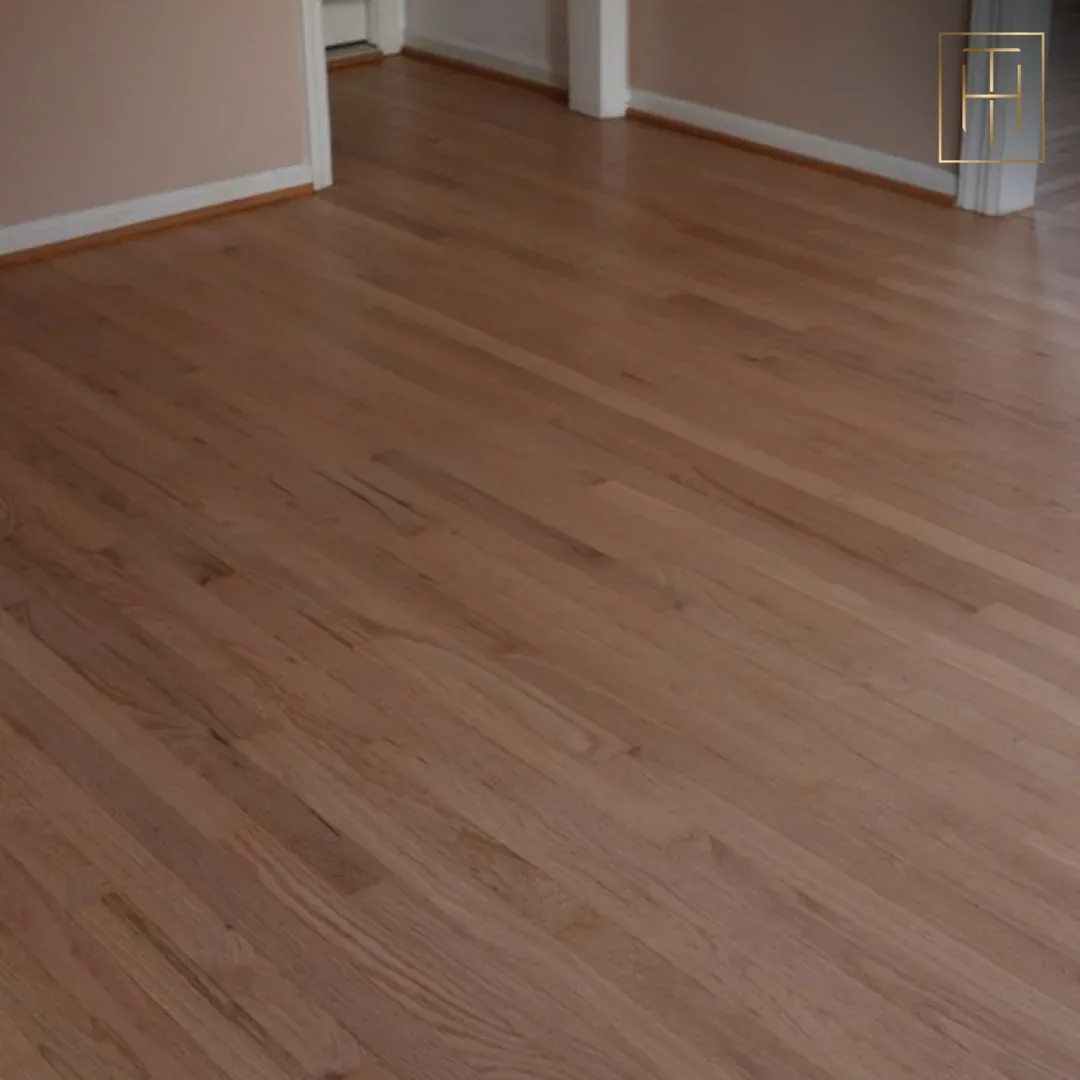
- Red Oak: Known for its prominent, open grain and reddish undertones. It takes stain well and is a very popular choice.
- White Oak: Features a subtler, tighter grain with more brown and gray tones. It’s often favored for modern looks and can be stained in a wide range of colors.
- Maple: A very dense wood with a fine, subdued grain. Maple can be challenging to stain evenly due to its density.
- Hickory: Offers a distinctive, often dramatic grain pattern and significant color variation, making it a rustic choice.
If you’re unsure, a professional flooring expert can help you identify the species accurately. This ensures that the new planks will have the same foundational characteristics as your old ones.
Step 2: Measure Plank Width and Thickness
Once you know the species, the next crucial measurements are plank width and thickness. Even a slight difference can create an uneven look or feel.
- Width: Standard hardwood planks typically come in widths like 2.25″, 3.25″, 4″, or 5″. Measure several existing planks to get an accurate average.
- Thickness: Common thicknesses are 3/4″ for solid hardwood and various measurements for engineered wood. Matching thickness is vital for a flush installation.
The goal is to find new planks that perfectly match these dimensions. If your existing floors are an unusual size, you might need custom-milled planks, which a specialized hardwood flooring contractor in Doylestown can assist with.
Step 3: Decide – Feather-In or Transition Strip?
You have two primary options for integrating new hardwood with existing:
- Feathering-In: This involves weaving the new planks into the existing floor, creating a continuous, seamless surface. It requires removing some of the old planks and carefully interlocking new ones. This method is ideal for open-concept spaces or room extensions where you want the floor to look like one continuous installation. It’s a more labor-intensive process but yields the best aesthetic result.
- Transition Strip: A transition strip is a piece of molding used to bridge the gap between two different flooring types or between two areas of the same flooring where a perfect match isn’t feasible or desired. This is a good option when joining two distinct rooms, or if the existing floor is significantly older or damaged, making feathering difficult.
The choice depends on your aesthetic goals, budget, and the structural realities of your home. Professionals often recommend feathering for the most natural and high-end finish, especially for areas that will be visible as a single floor.
Why Prefinished Planks Rarely Match (and What to Do Instead)
Many homeowners consider using prefinished hardwood planks for new installations, hoping to match them with existing site-finished floors. However, this approach almost always leads to disappointment.
Factory Finish ≠ Site-Applied Finish
Prefinished hardwood planks come with a factory-applied finish, which is typically a highly durable, UV-cured aluminum oxide coating. This finish is applied in a controlled environment and results in a perfectly uniform, hard surface. Site-applied finishes, on the other hand, are typically oil-based or water-based polyurethanes applied by hand on your property.
The difference in application method, coating type, and curing process means that a factory finish will look distinctly different from a site-applied finish, even if the stain color is theoretically the same. The sheen, depth, and way light reflects off the surface will vary significantly. Trying to match a new prefinished floor to an existing site-finished one is like trying to match paint colors from two different brands – it rarely works perfectly.
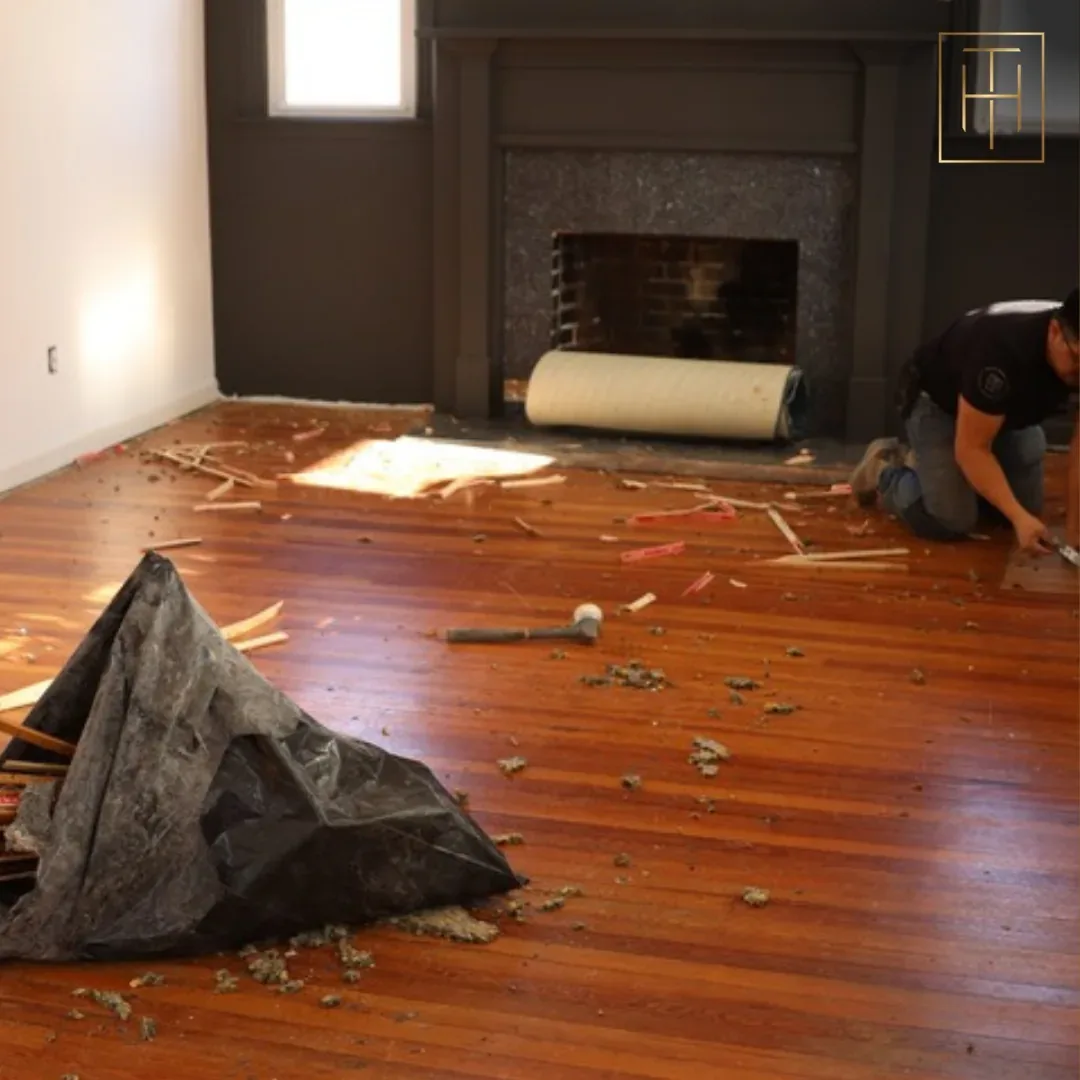
The “Sand the Whole Room” Approach: Why Pros Recommend It
For the most seamless and professional result when you need to match new hardwood with existing floors, flooring professionals almost universally recommend the “sand the whole room” approach.
Achieving a Uniform Look
This method involves installing the new, unfinished hardwood planks and then sanding both the new and existing portions of the floor down to bare wood. Once both sections are raw wood, they are stained and finished together. This ensures:
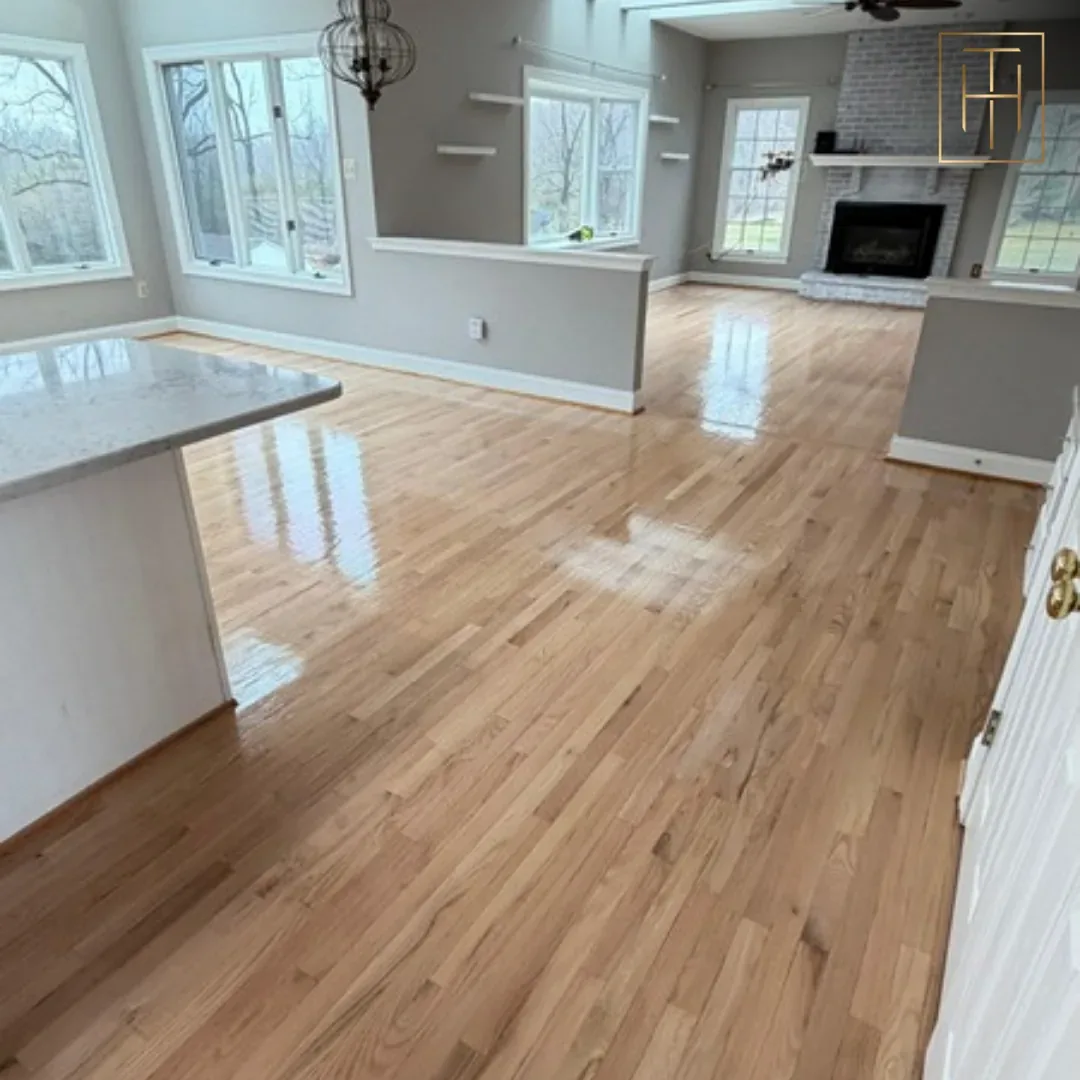
- Consistent Stain Absorption: Both new and old wood will absorb the stain in the same way, leading to a uniform color across the entire surface.
- Identical Finish: The same finish (e.g., matte, satin, semi-gloss) is applied across the entire floor, eliminating any differences in sheen or texture. You can explore various hardwood floor finish types to find the perfect match or update.
- Smooth Transition: Any minor height differences or imperfections between old and new planks are smoothed out during the sanding process.
While this approach requires more work and temporary disruption, the result is a floor that looks as if it was installed all at once, maximizing the aesthetic appeal and value of your home. It’s a smart investment, especially when considering hardwood floor installation vs. refinishing.
When to Use a Transition Strip Instead
While feathering and sanding the whole room offer the best aesthetic outcome, there are legitimate situations where a transition strip is the more practical and appropriate solution.
Different Rooms, Different Eras
A transition strip is an excellent choice when:
- Joining Different Rooms: If you are installing new hardwood in one room that connects to another room with existing hardwood, and you don’t want to refinish the entire house, a transition strip provides a clean visual break.
- Significant Age/Wear Differences: If your existing floors are very old and worn, or have been refinished multiple times to the point where they are thin, it might not be practical to sand them again to match new wood. A transition strip allows you to keep the existing floor as-is while installing new, fresh hardwood.
- Different Original Install Directions: Sometimes, the grain direction or plank layout in an older installation makes it difficult to seamlessly feather in new planks. A transition strip can elegantly manage this change.
- Budget or Time Constraints: Refinishing an entire area can be more costly and time-consuming. A transition strip is a more budget-friendly and quicker solution.
Transition strips come in various materials and styles, from simple wood thresholds to decorative metal strips, allowing you to choose one that complements your home’s decor.
FAQ
Common questions about how to match new hardwood with existing floors from homeowners in Doylestown and nearby areas.
How do I match new hardwood with existing floors successfully?
To successfully match new hardwood with existing floors, first identify the species and plank dimensions of your current flooring. Then, install new unfinished planks of the same type. The most effective method is to sand and refinish both the new and existing sections of the floor together to ensure a uniform stain and finish.
Why is it so hard to match stain colors on hardwood?
Matching stain colors is challenging because wood is a natural material with variations in grain, porosity, and natural color, all of which affect how it absorbs stain. Additionally, existing floors may have aged or faded, making an exact match difficult without sanding to bare wood.
Can I just install prefinished hardwood next to my old floors?
It’s generally not recommended. Prefinished hardwood has a factory-applied finish that differs significantly in appearance and durability from site-applied finishes. You will likely see a noticeable difference in sheen and texture between the new prefinished planks and your existing floors.
What is “feathering in” new hardwood?
Feathering in involves weaving new, unfinished hardwood planks into your existing floor by carefully removing some old planks and interlocking the new ones. This creates a seamless, continuous look, especially when followed by a full sanding and refinishing of the entire area.
When should I use a transition strip instead of feathering?
A transition strip is ideal when joining two distinct rooms, if there are significant age or condition differences between floors, or if budget and time constraints prevent a full refinishing of the entire area. It provides a clean visual break between different flooring sections.
Do I need to sand my existing floors to match new hardwood?
For the best match, especially in the same room or open-concept areas, it’s highly recommended to sand your existing floors along with the new ones. This allows both sections to be stained and finished simultaneously, ensuring a consistent color and sheen across the entire floor.
Explore Our Hardwood Flooring Services
- Hardwood Flooring Services
- Hardwood Flooring in Doylestown, PA
- Hardwood Floor Installation vs. Refinishing
Ready to Match New Hardwood with Your Existing Floors?
Achieving a perfect match between new and old hardwood floors is a craft that requires expertise and attention to detail. If you’re planning a renovation or extension in Doylestown and need to match new hardwood with existing floors, don’t leave it to chance. Our licensed and insured team has the experience to ensure a seamless and beautiful result.