
Blog
Stair Refinishing: The Complete Process from Start to Finish
Stairs are often the focal point of an entryway, but daily wear and tear can leave them looking dull, scratched, or outdated. Refinishing your stairs can breathe new life into your home, enhancing both aesthetics and value. Understanding the stair refinishing process is key to setting expectations and preparing your home for this transformative project.
Whether you’re dealing with carpeted stairs you want to expose, or existing hardwood stairs that need a refresh, the journey from old to new involves meticulous steps that ensure a durable and beautiful result. From initial preparation to the final curing, each stage demands precision and expertise.
The 6 Steps of the Stair Refinishing Process
Transforming your stairs from worn to wonderful involves a detailed, multi-day process. Each step is critical to achieving a high-quality, lasting finish that stands up to heavy foot traffic. Here’s an overview of what to expect:
1. Preparation: Removal and Initial Repairs
The first step in any stair refinishing process is preparing the surface. This involves removing any existing carpet, padding, or old finishes. Our team carefully extracts all staples and nails, then inspects the stairs for loose boards, squeaks, or damage. Minor repairs, such as tightening treads or filling small gaps, are addressed at this stage to create a stable foundation for the new finish. This thorough preparation ensures that the subsequent steps can proceed smoothly and effectively.
2. Extensive Sanding of Treads and Risers
Sanding is the most labor-intensive part of the stair refinishing process. Unlike flat floors, stairs have multiple angles, edges, and tight spaces. Each tread, riser, and sometimes even the stringers (side supports) must be individually sanded using a combination of hand-held sanders and specialized tools. This step removes old stain, finish, and any surface imperfections, revealing the raw wood beneath. Multiple grits of sandpaper are used, progressing from coarse to fine, to achieve a perfectly smooth surface ready for staining.
3. Detailed Cleaning and Dust Removal
After sanding, a meticulous cleaning is essential. Fine dust particles can compromise the adhesion and appearance of the new stain and finish. We use powerful vacuums and tack cloths to remove every trace of dust from the stairs and surrounding areas. This step is crucial for achieving a flawless, professional result and ensuring no imperfections are trapped under the new coats.
4. Stain Application for Desired Color
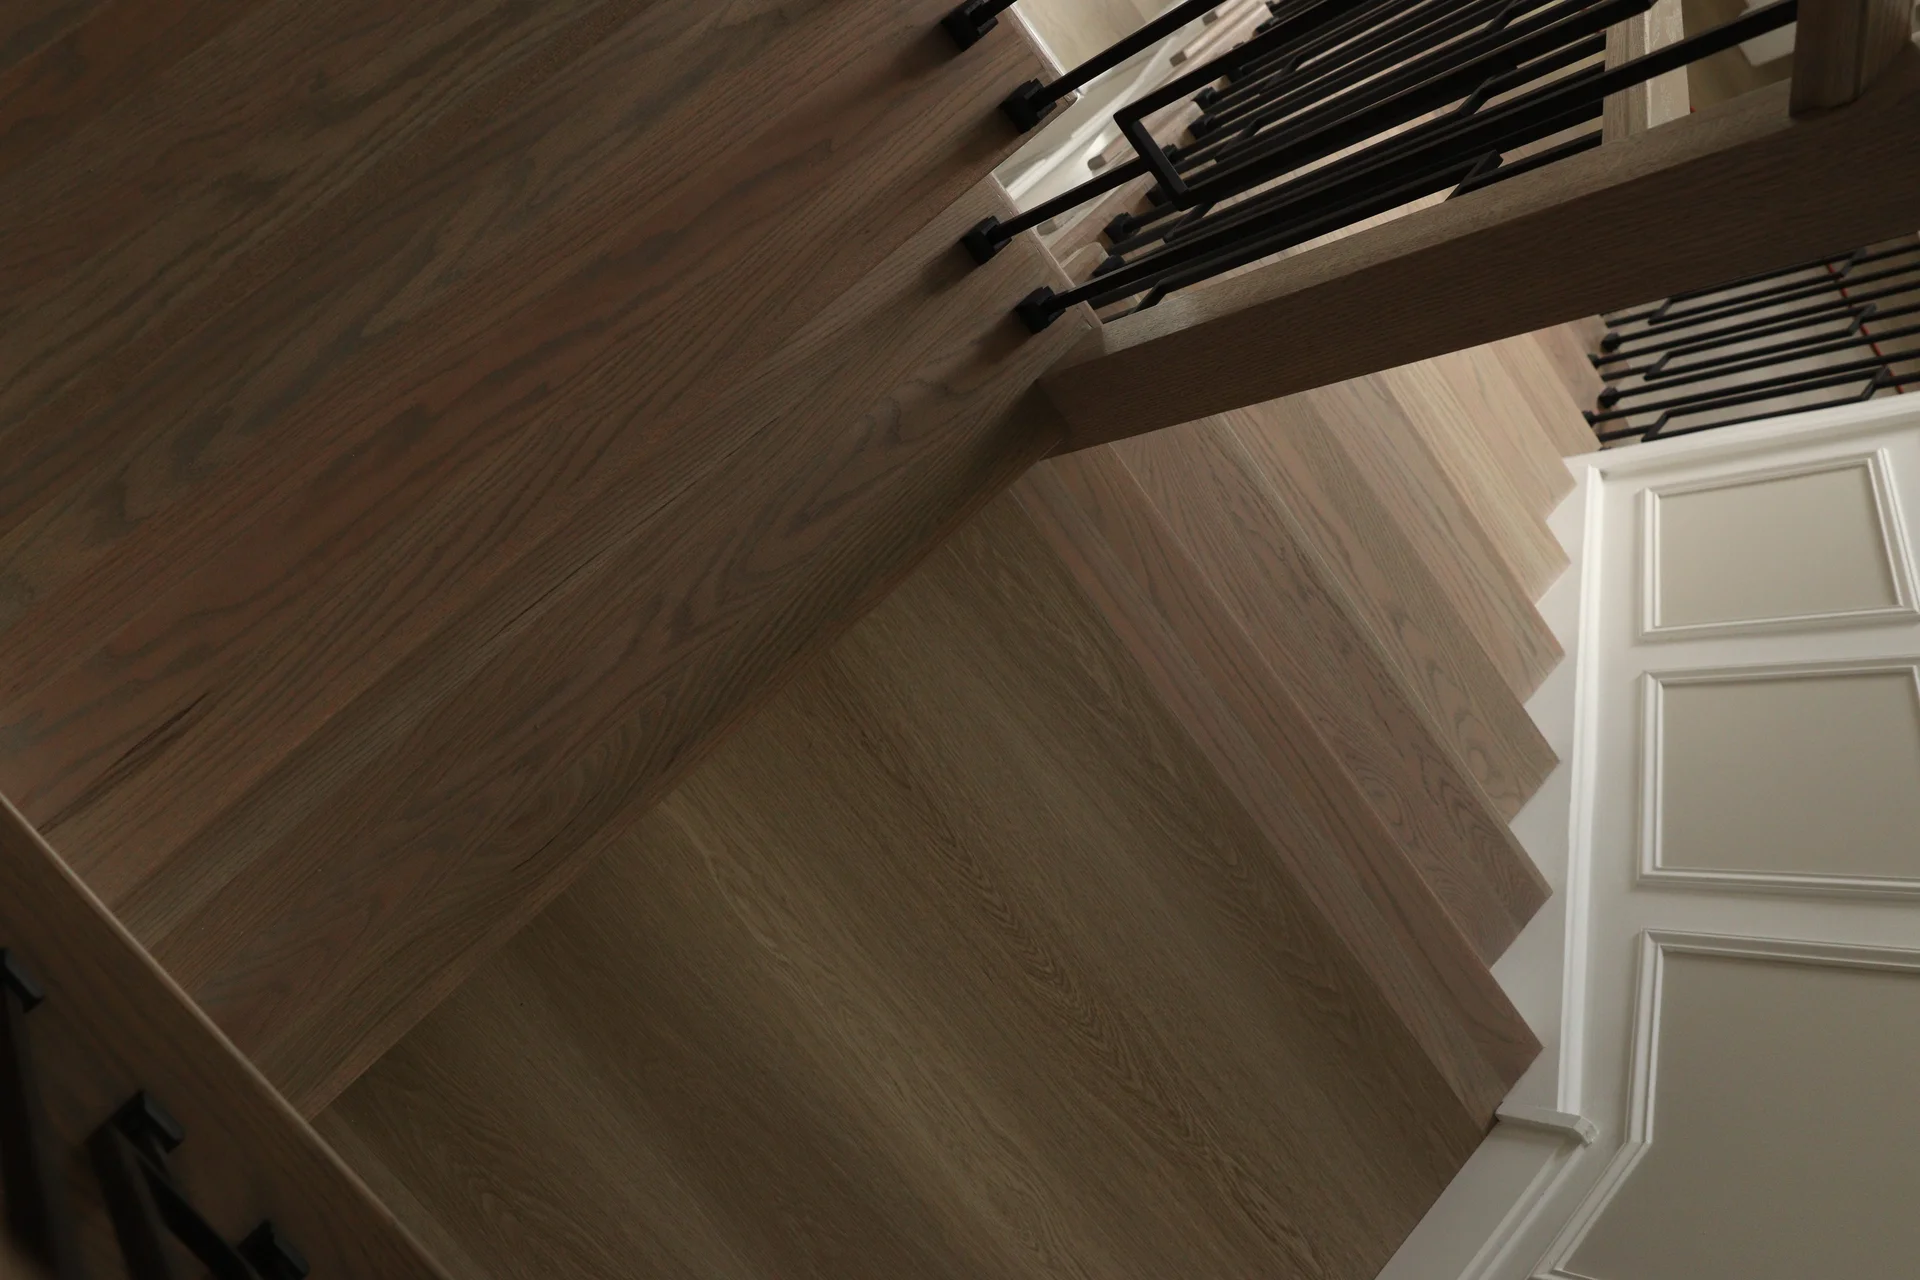
Once the stairs are perfectly clean, the chosen stain is applied. This step allows you to customize the look of your stairs, from rich dark tones to lighter, natural hues. Stain is applied evenly, often by hand, to ensure consistent color penetration and to highlight the wood’s natural grain. The duration of this step depends on the size of the staircase and the complexity of the chosen stain, which can range from classic shades to modern grays. You can explore various options for your home by looking at our hardwood floor stain colors explained.
5. Protective Finish Application (Polyurethane Coats)
After the stain has dried completely, multiple coats of protective finish, typically polyurethane, are applied. Each coat adds durability and protection against scratches, scuffs, and daily wear. We apply at least two coats, allowing adequate drying and curing time between each application. This creates a strong, long-lasting surface that can withstand the rigors of stair traffic. The National Wood Flooring Association (NWFA) provides guidelines for proper finishing techniques, emphasizing multiple coats for optimal protection, as cited in their technical publications.
6. Curing and Final Inspection
The final stage is the curing process. While the stairs may feel dry to the touch after a few hours, the finish needs time to fully harden and reach maximum durability. This typically takes 24-48 hours before light foot traffic is recommended, and several days for full cure before heavy use or placing rugs. A final inspection ensures that all steps meet our high standards for quality and appearance. For more detailed information on maintaining your new finish, see our guide on how to care for newly refinished hardwood floors.
Hand Sanding vs. Machine: Why Stairs Demand Precision
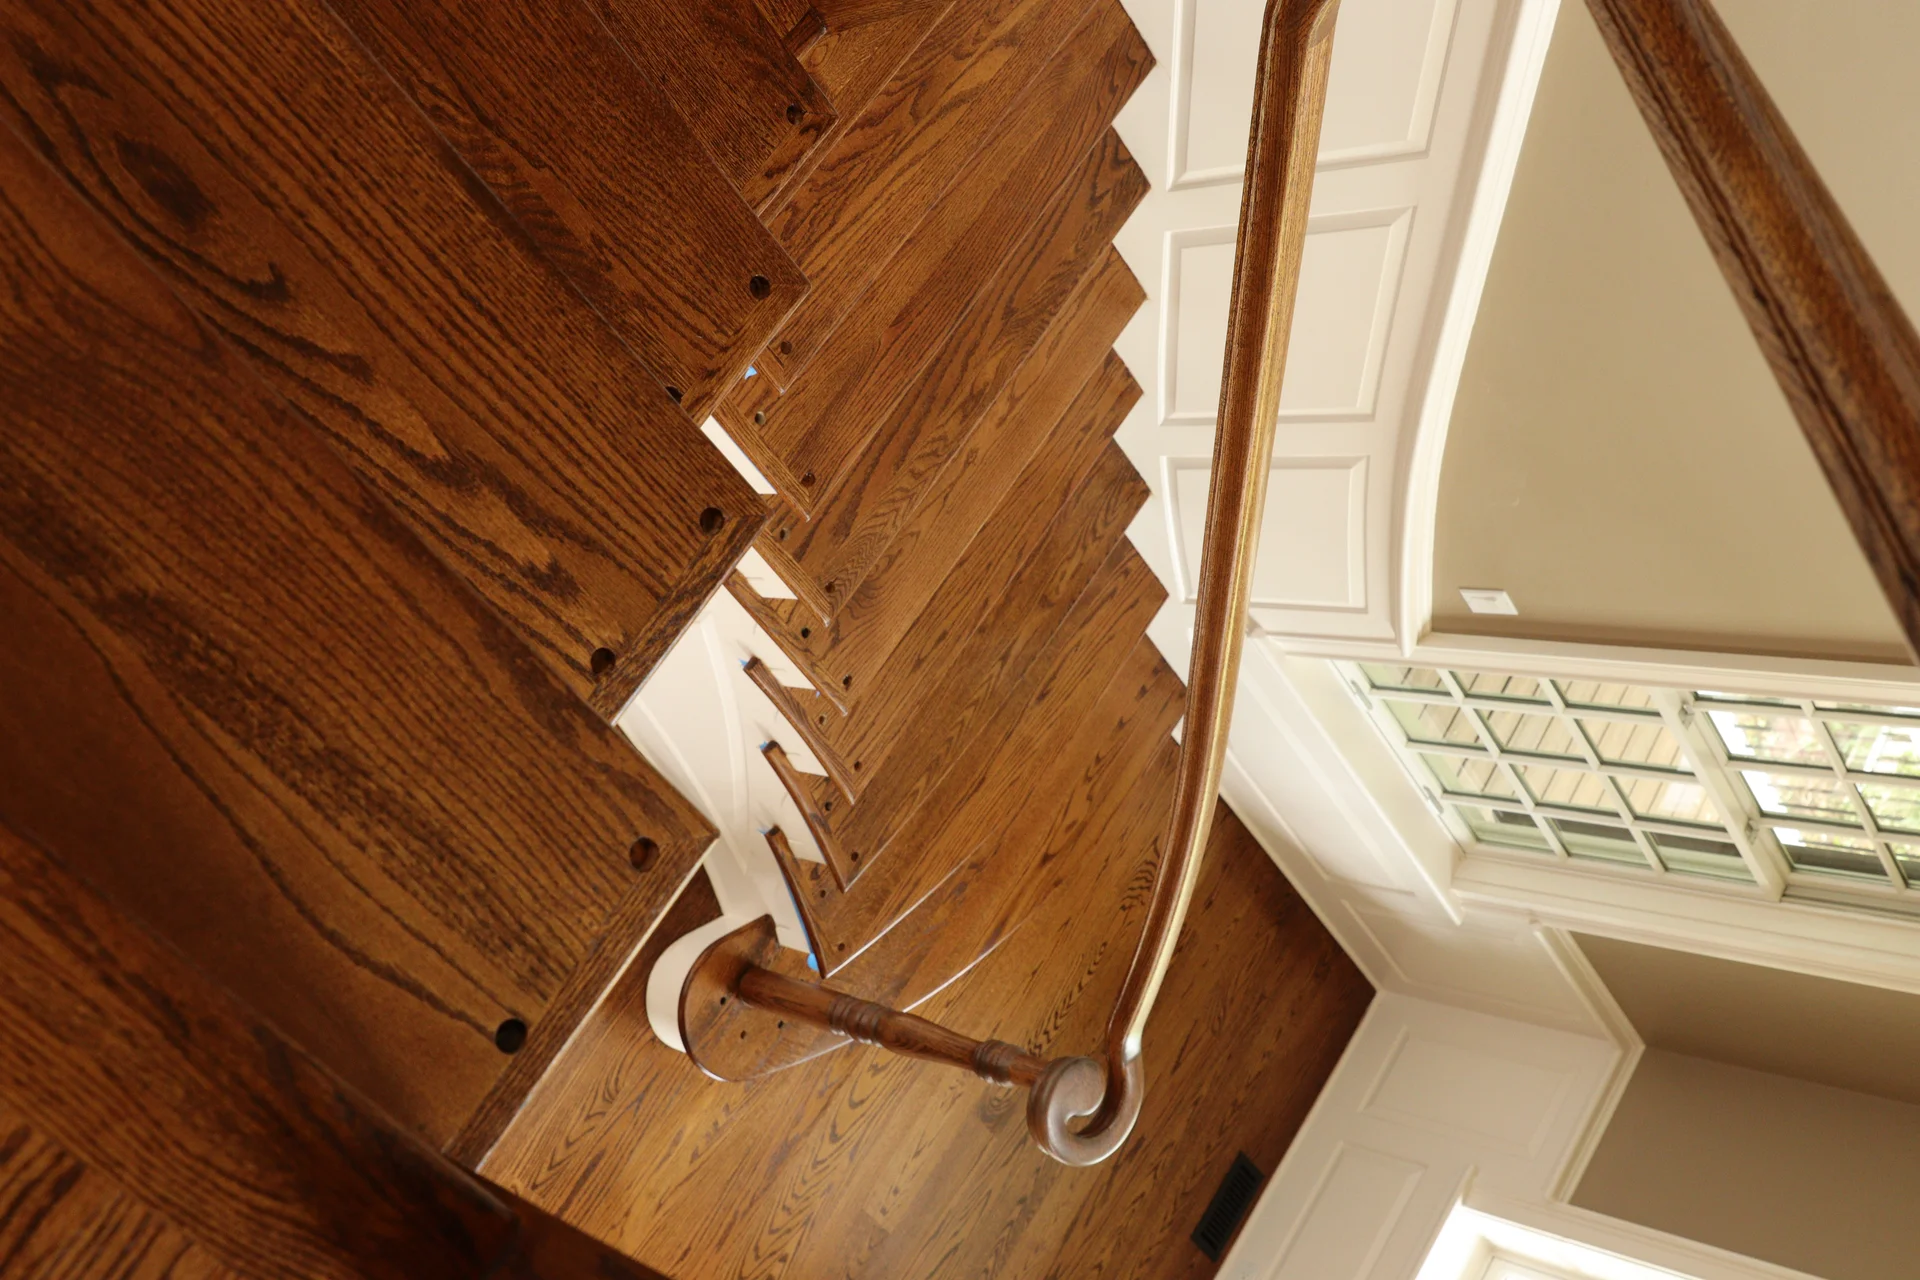
When it comes to refinishing, stairs present a unique challenge compared to flat hardwood floors. While large drum sanders and edgers can quickly cover vast floor areas, stairs require a much more intricate approach. Every tread, riser, and spindle needs individual attention, making hand sanding an unavoidable and critical part of the process.
The geometry of stairs means that heavy machinery is impractical and can even be damaging. Instead, skilled technicians use a variety of specialized orbital sanders, detail sanders, and often, traditional hand-sanding blocks to meticulously work every curve and corner. This ensures that all old finishes are completely removed and the wood is uniformly prepared for the new stain and topcoats. This precision prevents uneven patches or residual old finish that would show through, contributing to the overall quality and longevity of the stair refinishing.
This hands-on method is more time-consuming, contributing to the 4-7 day timeframe for a typical project, but it guarantees a superior finish that machines simply cannot achieve on such complex surfaces. This meticulous effort is why professional stair refinishing yields results far beyond what a DIY approach might offer, as noted in various home improvement guides such as those found on This Old House.
Navigating Your Home During Stair Refinishing
Refinishing stairs is an intensive process that temporarily impacts access within your home. It’s essential to plan ahead to minimize disruption and ensure safety.
- Limited Access: During the 4-7 day refinishing period, especially during sanding, staining, and finishing, the stairs will be largely inaccessible. The fresh stain and polyurethane need time to dry and cure, and walking on them prematurely can damage the new finish.
- Alternative Routes: If your home has multiple staircases, plan to use an alternative route for the duration of the project. For homes with only one main staircase, you might consider staying elsewhere or limiting movement between floors.
- Dust and Fumes: While our dustless sanding methods significantly reduce airborne particles, some dust is inevitable. There will also be odors from stains and finishes, so proper ventilation is crucial. We always discuss these aspects during our free in-home estimates to help you prepare.
Effective communication with your flooring contractor is key to understanding the daily schedule and when certain areas will be off-limits. We work with homeowners in Radnor to develop a clear plan, ensuring the project proceeds efficiently with minimal inconvenience.
Choosing Riser Colors: Design Options for Your Stairs
The risers—the vertical parts of your stairs—offer a fantastic opportunity to add a unique design element to your staircase. While the treads (the horizontal parts you step on) are typically stained to match your flooring or a desired wood tone, risers open up a world of possibilities.
- Matching Treads: For a cohesive and traditional look, risers can be stained to match the treads. This creates a uniform wooden staircase that flows seamlessly with existing hardwood flooring.
- Contrasting White: A popular and classic choice is to paint the risers a crisp white. This provides a striking contrast with stained treads, making the staircase feel brighter and more open. It complements many interior design styles, from traditional to modern farmhouse.
- Matching Wall Color: For a more integrated look, risers can be painted to match the adjacent wall color. This can make the staircase feel like a natural extension of the room, especially in smaller entryways where you want to avoid visual breaks.
- Bold Accent Colors: For homeowners seeking a bold statement, risers can be painted in an accent color that complements your home’s decor. This unexpected pop of color can turn a functional staircase into a true design feature.
The choice of riser color can dramatically alter the visual impact of your stairs, turning them into a central design element. Our team can help you visualize these options during your consultation.
Understanding Stringer Types: Open vs. Closed
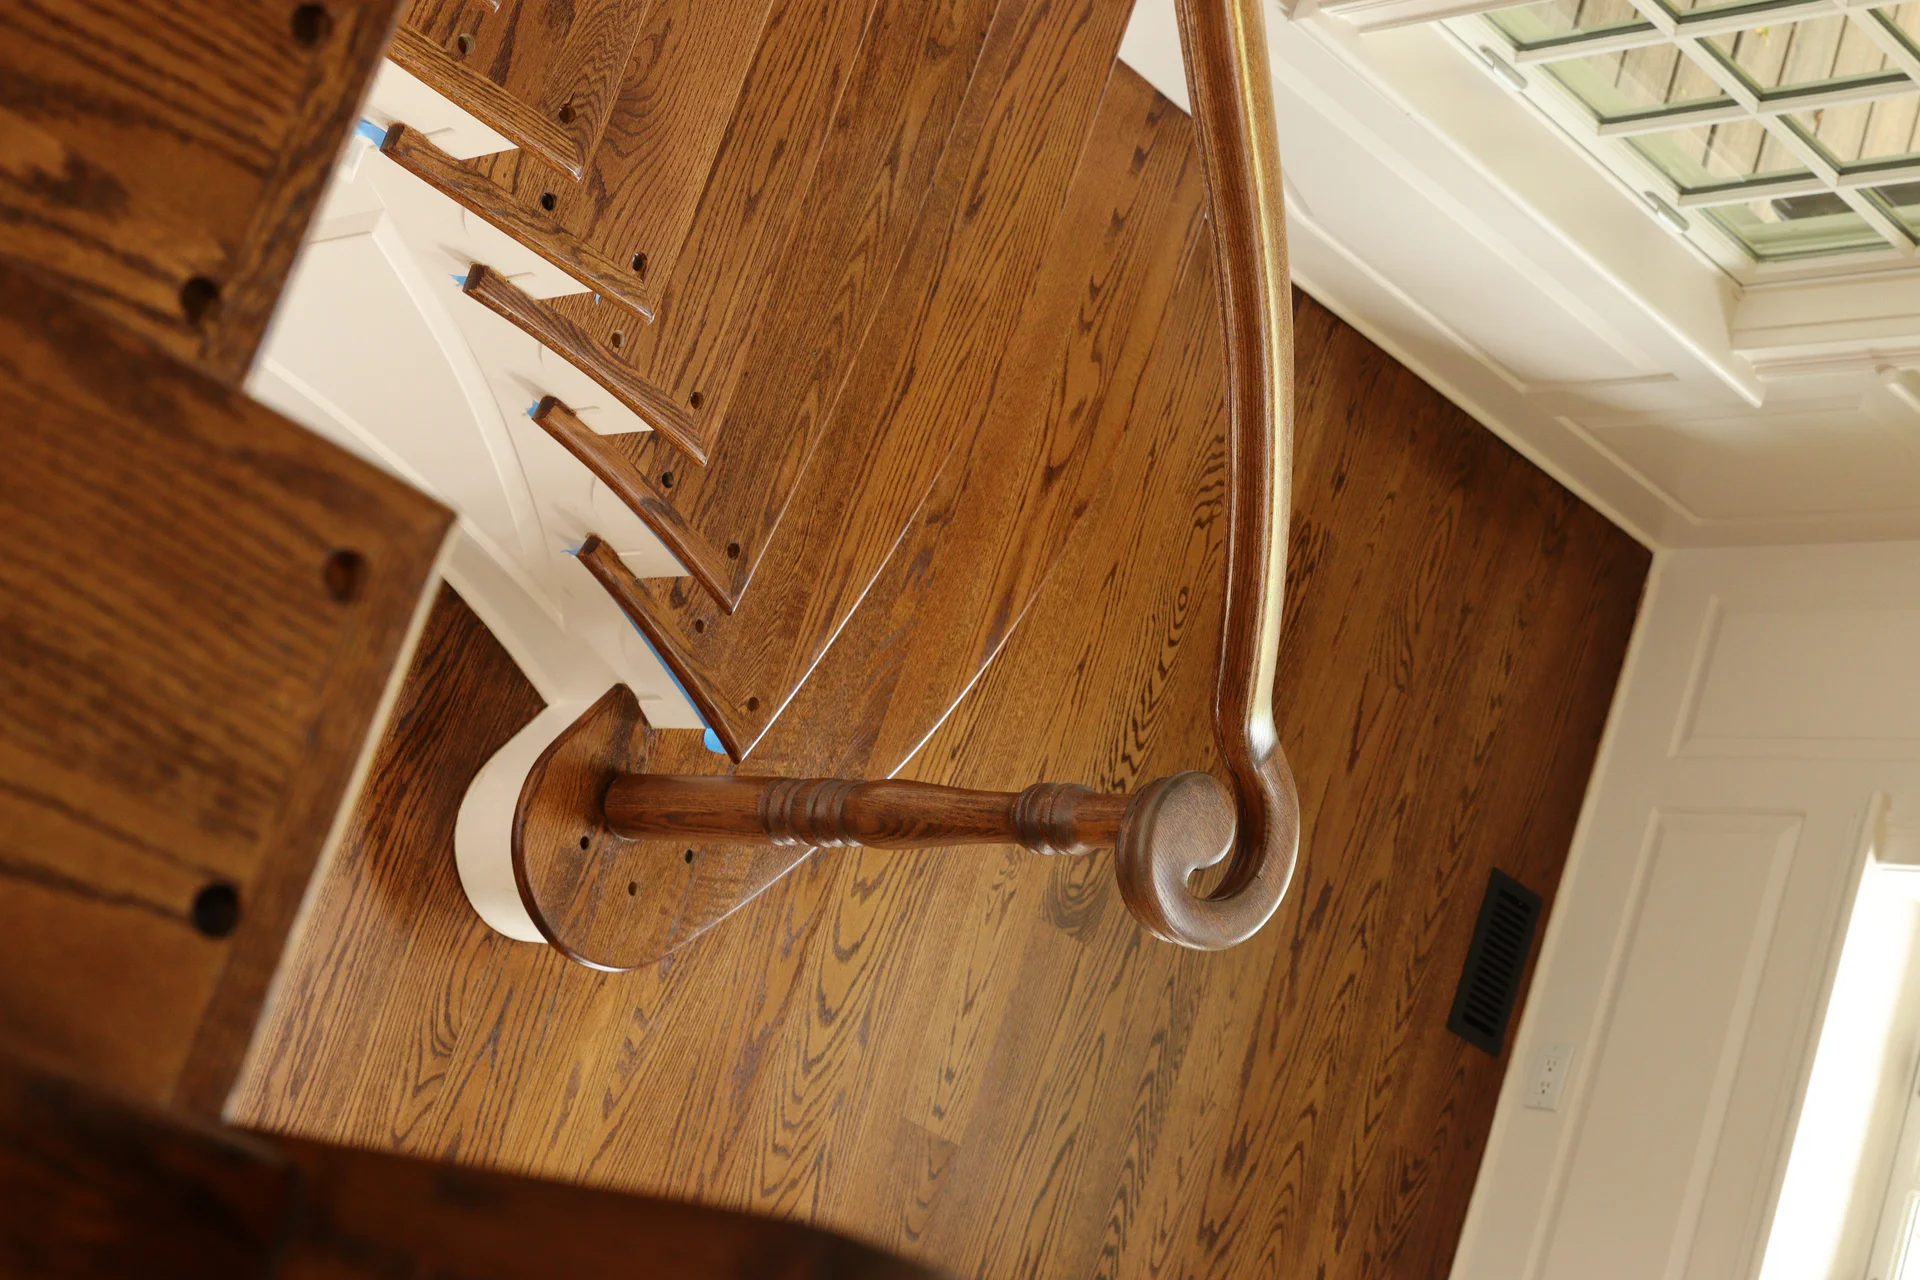
The “stringers” are the structural supports that run along the sides of your stairs. Understanding whether your stairs have open or closed stringers is important for the refinishing process, as it affects preparation and finishing techniques.
- Closed Stringers: These are the most common type. The treads and risers are housed between two solid boards that run from the top to the bottom of the staircase. Refinishing closed stringers typically involves sanding and staining them to match the treads, or painting them to complement the risers or surrounding trim. This type often requires more detailed hand-sanding in the corners where the treads and risers meet the stringers.
- Open Stringers: Less common, open stringers feature treads that extend beyond the side support, often with balusters directly attached to the ends of the treads. This design creates a more open, airy feel. Refinishing open stringers requires careful attention to the exposed ends of the treads and the visible edges of the stringers themselves, as they are a prominent design feature. This often involves more intricate hand-sanding and finishing to ensure a smooth, uniform appearance on all visible surfaces.
Regardless of the stringer type, our comprehensive stair installation and restoration services in Radnor, PA ensure that all components of your staircase are meticulously prepared and finished to perfection.
Factors Influencing Stair Refinishing Investment
While we never provide specific pricing in a blog post, understanding the factors that influence the overall investment in stair refinishing can help you prepare for your project. The complexity of stair refinishing means that several variables come into play.
- Number of Treads and Risers: Simply put, more steps mean more labor and materials. A standard 13-step staircase will naturally require less work than a grand, winding staircase with 20 or more steps.
- Current Condition of the Stairs: Stairs with deep scratches, significant water damage, or extensive repairs needed will require more intensive preparation and repair work before sanding can even begin. This additional labor contributes to the overall project scope.
- Carpet Removal and Prep: If your stairs are currently carpeted, the removal of old carpet, padding, and hundreds of staples is a time-consuming process. Any adhesive residue also needs to be thoroughly cleaned.
- Baluster and Spindle Removal/Refinishing: If balusters or spindles need to be removed for a cleaner sanding and finishing process, or if they are also being refinished, this adds to the labor. Custom staining or painting of these elements also increases complexity.
- Custom Stain Choices: While standard stain colors are straightforward, custom color matching or specialized techniques like fuming or distressing can require additional time and expertise, influencing the final investment.
For an accurate assessment and a detailed quote tailored to your specific staircase, we recommend scheduling a consultation. Our team will provide a transparent outline of the work involved and the associated investment.
FAQ About Stair Refinishing
Common questions about the stair refinishing process for homeowners in Radnor and surrounding areas.
How long does the stair refinishing process take?
For a typical 13-step staircase, the entire refinishing process usually takes 4 to 7 days. This includes preparation, sanding, staining, and multiple coats of finish with adequate drying time between each step.
Will I be able to use my stairs during refinishing?
During most of the refinishing process, especially after staining and finishing, your stairs will be inaccessible. It’s crucial to avoid walking on them to allow the finish to cure properly. We recommend planning alternative access or temporary accommodation if you only have one staircase.
Is stair refinishing a messy process?
While sanding inherently creates dust, we utilize advanced dustless sanding equipment to minimize airborne particles. We also take protective measures, such as sealing off work areas, to contain any remaining dust. There will also be some odor from the stains and finishes, so good ventilation is important.
Can you refinish carpeted stairs?
Yes, we can refinish stairs that were previously carpeted. This involves carefully removing the carpet, padding, and all staples, then preparing the underlying wood for sanding and finishing. Any necessary repairs to the wood will be addressed during this initial stage.
What finish is used for stair refinishing?
We typically use durable polyurethane finishes, which offer excellent protection against wear and tear. These finishes are available in various sheens, such as matte, satin, or semi-gloss, allowing you to choose the look that best suits your home.
Are you licensed and insured for stair refinishing projects?
Yes, Tesla Hardfloor is fully licensed and insured to perform all types of flooring and stair refinishing services. This provides peace of mind and protection for our clients throughout the project.
Explore Our Related Services
- Professional Stair Services
- Stair Installation and Restoration in Radnor, PA
- Comprehensive Hardwood Floor Refinishing
- Preparing Your Home for Refinishing
- How Long Hardwood Floor Refinishing Takes
Ready to Revitalize Your Stairs in Radnor?
If your stairs are showing their age and you’re ready to explore the possibilities of professional stair refinishing, contact Tesla Hardfloor today. We provide expert, licensed, and insured services throughout Radnor and the surrounding areas. Let us guide you through the complete stair refinishing process, from selecting the perfect stain to applying a durable finish, ensuring a stunning and lasting transformation for your home.
Prefer to speak directly? Call us: +1 (215) 607-2734